- AI For Business
- Posts
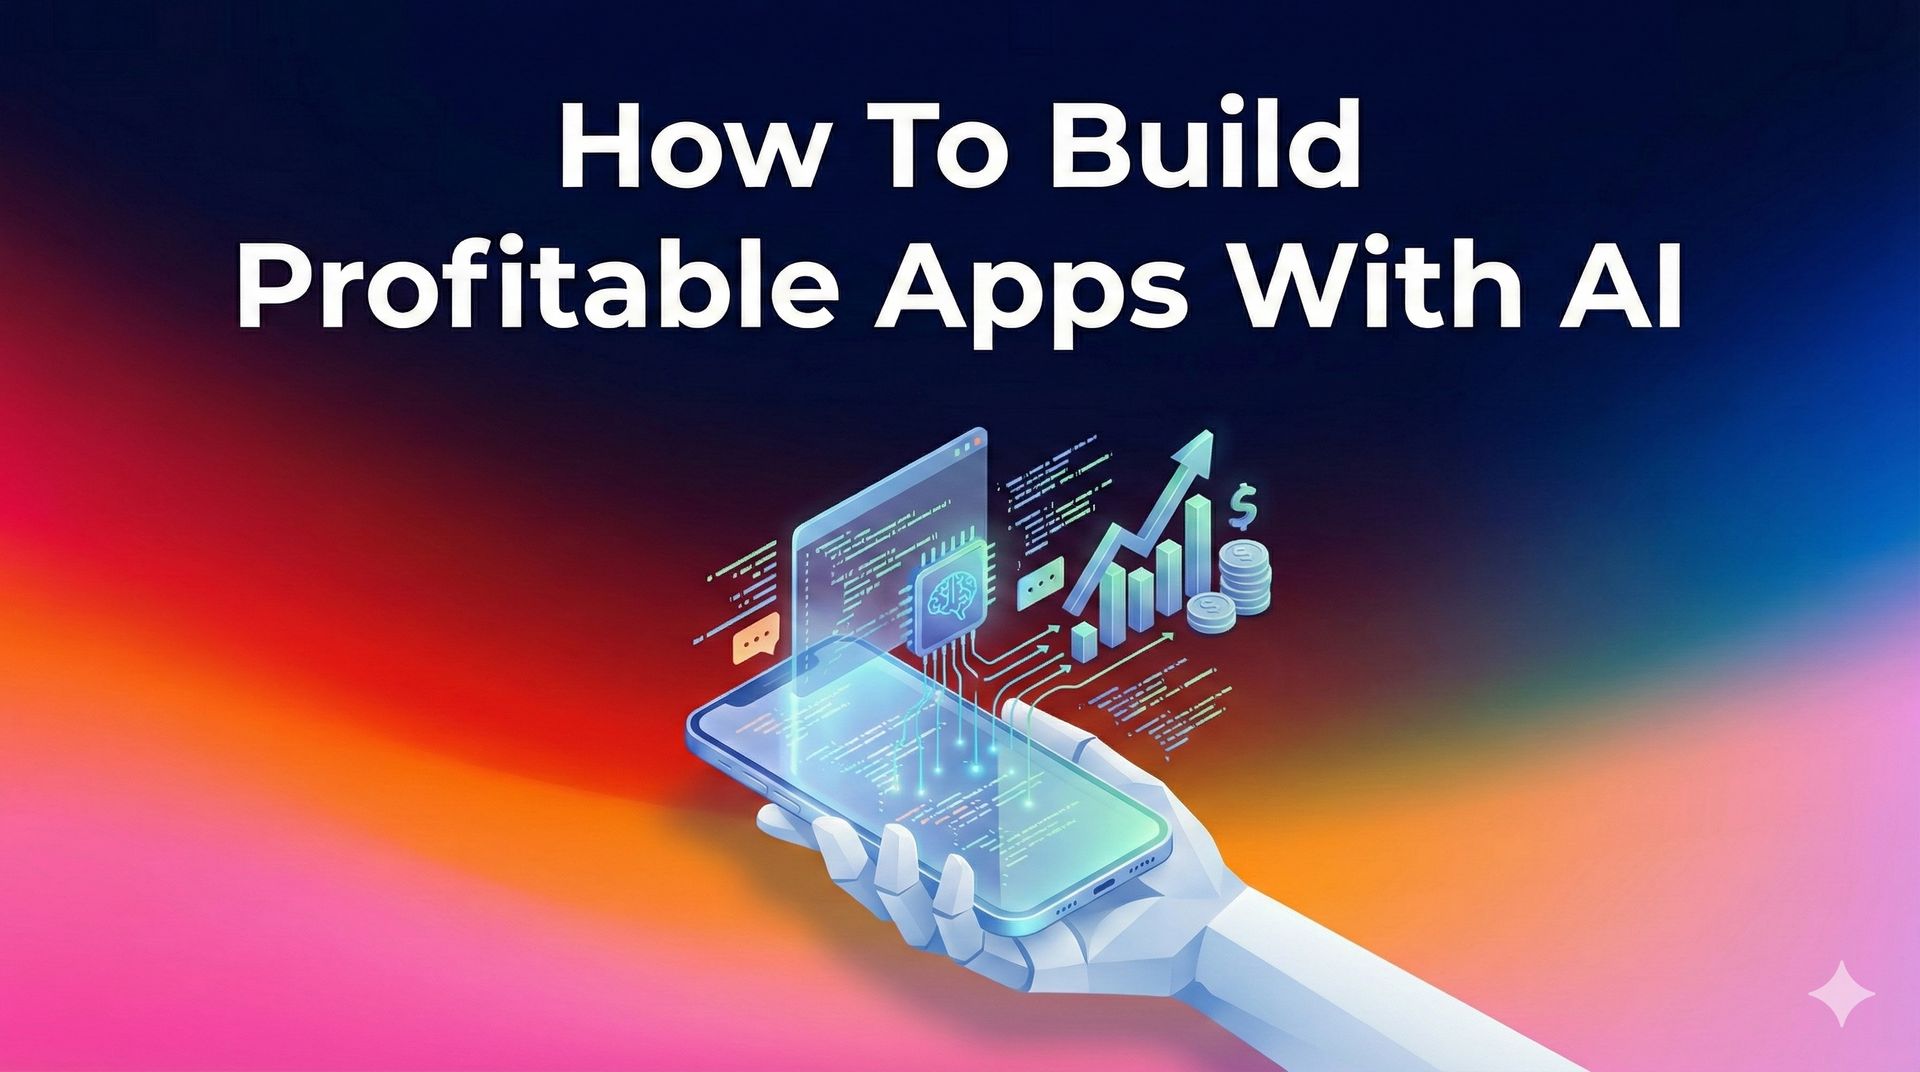
- Exclusive Guide: How I Build And Launch My Own Apps, And How You Can Too
Exclusive Guide: How I Build And Launch My Own Apps, And How You Can Too
Brian Hanson
December 12, 2025

Good morning,
Last week, I told you how I built Revven—an AI app that now has over 2,500 paying users.
The response was crazy.
Probably because you guys enjoyed the detailed format, and I also promised to make a full guide on creating apps with AI.
So here it is.
This isn't some theory I read in a book. This is exactly what I did to build a profitable app without knowing a single line of code. I'm giving you the same process I used, with nothing held back.
By the end of this guide, you'll know:
Which tools to use (and what they actually cost)
How to generate profitable app ideas
The exact step-by-step building process
How to deploy and monetize your app Let's dive in.
Why You Need to Learn App Creation Using AI For The Sake Of Your Business
Here's what happened when I built Revven.
The build time was less than 10 minutes. What it cost me was under $100. My coding experience was zero—I don't know Python, I don't know C, and I don't even know HTML.
The results speak for themselves. I now have 2,500+ paying members. Thousands more free users are discovering our brand through the app. It's become a gateway that leads people to our other products and services.
The timeline? This all happened in just a few months.
I'm not special. I'm not a tech genius.
I just used AI the right way. And now I'm going to show you exactly how.
Three Ways This Can Make You Money
Building apps with AI isn't just cool—it's a real business strategy. There are three primary ways you can use this skill to generate income.
Lead Generation Apps (Free Tools That Capture Leads)
You can build calculators, assessment tools, or planners that people actually want to use. Give them away for free while collecting emails from everyone who uses them. Now you have a list of people who already know you provide value.Think about tools like a marketing budget calculator for business owners. Or a meal planning tool for fitness coaches.Maybe an ROI calculator for consultants. These are simple apps that solve real problems while building your email list with people who are actually interested in what you do.
Subscription Software (Monthly Recurring Income)
This is the dream scenario—passive income that keeps coming in month after month. You build a tool people pay for every month, creating monthly recurring revenue without trading time for money.
Examples include client tracking apps, specialized AI assistants, or content creation tools. Once you build them, they keep generating income while you sleep.
Offer It as a Service (Get Paid to Build for Others)
Once you know how to do this, you can build apps for other businesses. You can charge $2,000, $5,000, or even $10,000 per app. They get something that would normally cost $20,000 or more to hire developers for. You make great money in just a few hours of work.
This creates a new income stream using a skill you can learn in a weekend.
But Wait—There's More: Beyond just making money, building apps does something else important for your business. It makes you look more professional and authoritative in your market. It sets you apart from competitors who don't have this skill. Fitness coaches and consultants who add custom apps can charge $50-100 more per month for their services. When done right, apps create viral growth mechanisms that bring you customers automatically.
What AI Can Actually Build Right Now Here's what's possible today—not someday in the future, but right now, today.
Apps You CAN Build:
✅ Lead magnet calculators (ROI, budget, pricing estimators)
✅ Client tracking apps (fitness, nutrition, progress monitoring)
✅ E-commerce shopping apps with loyalty programs
✅ Booking and scheduling systems
✅ Custom chatbots trained on your business
✅ Quiz and assessment tools
✅ Database management apps
✅ Content generation tools (like Revven Prompt Generator)
✅ Home service calculators with contractor matching
✅ Subscription-based niche AI assistants
✅ Community platforms with user authentication
✅ Admin dashboards for business management
✅ Affiliate tracking systems
✅ CRM integrations and webhooks
Features That Work Well:
The features that work especially well include user logins and passwords. Payment processing through services like Stripe or PayPal integrates smoothly. Email capture and notifications work reliably.
Other reliable features:
Photo uploads and image processing Real-time data updates Mobile-responsive designs that work on any device API integrations (OpenAI, Stripe, etc.) Multi-language support Everything you build works on phones, tablets, and computers automatically.
Apps That AI Still Struggles With
I need to be honest with you about the limitations. AI can't build everything yet, and you should know what's hard before you start.
Technical Limitations:
❌ Complex Real-Time Systems: High-frequency trading platforms, real-time multiplayer games
❌ Hardware Integration: Apps requiring direct hardware control (IoT devices without APIs)
❌ Highly Complex Algorithms: Custom AI model training, advanced scientific computing
❌ Native Mobile Apps: Limited support (web apps work great, native iOS/Android harder)
❌ Massive Scale from Day One: Apps requiring infrastructure for millions of users immediately
Common Issues with Current Tools:
With some AI tools, you'll run into problems like the AI "forgetting" what you talked about earlier in the conversation. Some bugs appear in complicated projects with lots of files. And there are limits on how much you can build in one session.
What's Coming Next—And Why You Should Start Now: OpenAI is releasing something called "Garlic" in early 2026. It's going to be 17% better than current tools in coding benchmarks. It makes fewer mistakes and remembers context better than what we have now.
The Big Mindset Shift Before We Start
Here's what most people get wrong about building apps with AI.
Old thinking: "I need to learn how to code."
New thinking: "I need to learn how to describe what I want."
The skills that matter now aren't about memorizing syntax or understanding programming languages. The skills that actually matter are:
Spotting problems people have
Explaining solutions clearly in plain language
Understanding what users need and want
Testing and improving based on feedback
Having a good business strategy that makes money
You're not becoming a programmer
You're becoming a product creator.
Alright, Let's Build Your First App
Now that you understand why this matters and what's possible, let me walk you through the exact process. This is the same method I used to build Revven.
No fluff. No theory. Just the real steps that actually work.
1. What You'll Need to Get Started
Let me break down exactly what you need and what it costs. I'm being completely transparent here because I want you to know the real numbers.
Required Subscriptions & Costs:
Lovable.dev - $25/month (free trial available)
This is where you'll build your app
Cloud integration included
One-click deployment
Voice input capabilities
Claude Pro (Optional) - $20/month
Great for brainstorming ideas
You can use the free version initially
OpenAI API (If building chatbots) - About $5-10/month
Pay-as-you-go pricing
Only needed for AI chat features
For a more professional setup, consider:
Domain name: $10-15/year (GoDaddy, Namecheap)
CRM like GoHighLevel: For lead capture (included in Pro membership)
Stripe: For accepting payments (free setup, transaction fees only)
Total Startup Cost: $25-50/month to start (vs. $20,000+ traditional development)
Time Investment—Here's what to expect time-wise:
First simple app: 30-60 minutes
Learning curve: 2-3 apps to feel comfortable
Ongoing changes: Just a few minutes
What you actually need is simple:
A computer (Mac or PC, doesn't matter)
Internet connection
Modern web browser (Chrome works best)
That's it. No fancy setup, no coding programs, no technical stuff to install.
Step 2. Coming Up With Your App Idea
This is where most people get stuck. They stare at a blank screen thinking "What should I even build?" Don't worry, I'll show you exactly how to use AI to brainstorm ideas.
Why Start With Claude Claude is really good at understanding your business context and generating ideas that fit. It asks the right questions and gives you options you probably wouldn't have thought of on your own.
The Ideation Process
Sub-step 2.1: Define Your Business Context by telling Claude about your business using this template:
I'm a [your profession/business type].
My name is [your name].
I'm looking to build a simple app with Lovable that can help [lead generation / add value to clients / create recurring revenue] for my [business type] business.
The brand name is [your brand name], and the domain is [yourdomain.com].
Help me come up with 3 really great ideas for this app.
Sub-step 2.2: Review and Refine Ideas
Claude will suggest 3-5 detailed app concepts. You're looking for ideas that check these boxes:
✅ Solves a real problem your customers have
✅ Simple enough to build in one sitting
✅ Provides immediate value to users
✅ Aligns with your business goals
✅ Has clear call-to-action for your main offer
Once you see an idea you like, ask Claude to develop it further:
I love idea #3. Let's build that.
Give me a copy-and-paste prompt that I can use in Lovable.dev to create this app.
Make it look beautiful.
Sub-step 2.3: Get Your Build Prompt
Claude will generate a comprehensive prompt that includes everything you need:
Detailed feature specifications UI/UX design guidance
Technical requirements
Color schemes and branding
User flow descriptions
Database structure needs
Save this prompt. You'll paste it directly into Lovable in the next step.
Alternative Brainstorming Approach:
If you already know what you want to build, skip the brainstorming and tell Claude directly:
I want to build [specific app description].
This will be used for [purpose].
My target users are [audience description].
Create a detailed prompt for Lovable.dev to build this, including:
All necessary features
Beautiful, modern design
Mobile-responsive layout
[Any specific integrations needed]
Make it professional and user-friendly.
Step 3. Building Your App in Lovable
This is where the magic actually happens. You'll watch your app come to life in minutes.
Sub-step 3.1: Access Lovable.dev
Go to lovable.dev
Sign up for free trial (no credit card required initially) - but I highly recommend you get a subscription since the free version has a smaller token limit.
You'll see the main chat interface
Sub-step 3.2: Paste Your Prompt
Now you'll use what Claude created:
Copy the entire prompt from Claude Paste it into Lovable's chat box
Remove any meta-instructions (like "Copy this prompt:")
Hit Enter or click Send Sub-step
3.3: Enable Cloud (Claude 4.5)
Lovable will ask: "Would you like to use Cloud for better results?"
Always select Yes.
This uses Claude Opus 4.5 which means superior reasoning, fewer bugs, better overall results. Worth the slightly higher credit usage.
Sub-step 3.4: Watch It Build
Here's what happens next:
Lovable shows "Spinning up preview..."
Multiple files are created automatically
Progress indicators show different components
Takes about 1-3 minutes for initial build
Sub-step 3.5: First Preview
Once complete, you'll see your app running live.
Now it's time to test everything:
Click all the buttons and features
Fill out forms and submit them
Try it on your phone (responsive preview)
Check for any obvious issues
Common First-Build Issues, don't worry if you see these problems:
Missing logo (you'll add this manually)
Colors might need adjustment
Some text might be placeholder
Features might need refinement
This is totally normal and easily fixed in the next step.
Step 4. Iterating and Customizing
Here's the coolest part about Lovable that most people don't realize at first. You just talk to it like you're talking to a friend who knows how to code.
Sub-step 4.1: Use Natural Language to Refine
The beauty of Lovable is that you can make changes in plain English. Here are examples of how to request different types of changes.
For Design Changes:
Change the primary color to #3B82F6 (blue)
Make the header sticky so it stays at the top when scrolling
Add more padding around the main content
Use the font "Inter" instead of the default
For Feature Additions:
Add a "Save Results" button that lets users download a PDF
Include a progress bar showing how far they are in the form
Add email validation to ensure it's a real email format
Create a success message after form submission
For Functionality Fixes:
The calculator isn't adding the numbers correctly - please fix
Make the submit button disabled until all required fields are filled
Add a loading spinner while the AI is generating the response
Fix the mobile view - the buttons are cut off
For Content Updates:
Change the headline to "Find Out Your True Marketing ROI"
Update the description to explain how this helps business owners
Add a section at the bottom with frequently asked questions
Include these testimonials: [paste your testimonials]
Sub-step 4.2: Adding Your Branding
Sometimes Lovable has trouble with logos. Here's the easy workaround:
Add my logo in the top left corner of the header.
The logo file is called "logo.png" and should be 150px wide.
Then you can manually upload your logo file through Lovable's file system.
Brand Colors & Typography:
Use my brand colors throughout:
Primary: #[your color code]
Secondary: #[your color code]
Accent: #[your color code]
Background: #[your color code] Typography:
Use these fonts:
Headings: [Font Name]
Body text: [Font Name]
Make sure all text is easily readable
Sub-step 4.3: Testing Across Devices
Lovable has built-in responsive preview, but you should also test on real devices:
Your actual phone
Tablet Desktop at different sizes
Different browsers (Chrome, Safari, Firefox)
Common mobile issues to check:
Buttons big enough to tap easily
Text readable without zooming
Forms easy to fill out
Images load quickly
No horizontal scrolling
Important note: Don't try to make it perfect in one session. Instead, break your work into focused sessions:
Step 4. Integrating Essential Features
Now let's add the features that turn your app from interesting to actually useful for your business.
Sub-step 4.1: Email Collection Setup
If you're building a lead gen app, you absolutely must capture emails.
Option A: Built-in Database (Simplest)
Add an email signup form that:
Collects name and email
Stores in a database
Shows a success message
Validates email format
Create an admin panel where I can:
View all signups
Export to CSV
See signup dates
Option B: CRM Integration (Recommended for Marketing)
For GoHighLevel or any CRM with webhooks:
Integrate with GoHighLevel via webhook.
When someone submits the form:
Send their data to this webhook URL: [your webhook]
Include fields: name, email, phone (if collected)
Add tag: "App Lead"
Show success message after submission
Setting up GHL webhook:
Go to GHL → Settings → Webhooks
Create new webhook
Copy the URL Paste into
Lovable prompt above
Sub-step 4.2: Adding AI Chatbot Functionality
If you want conversational AI features like Revven has, you'll need to set up a chatbot.
First, get your OpenAI API key:
Go to platform.openai.com
Sign up / log in
Go to API Keys
Create new secret key
Copy it immediately (you can't see it again)
Then tell Lovable:
Add a chatbot feature that:
Appears in bottom right corner
Uses OpenAI's GPT-4 API
Is trained to answer questions about [your business/topic]
Has this personality: [describe tone/style]
Knows this information: [paste key info about your business]
Use this API key: [your OpenAI key]
Store it securely as an environment variable.
Customize the chatbot training:
The chatbot should know:
My business name is [name]
We offer [services/products]
Our prices are [pricing]
Contact information: [details]
Common questions: [list FAQs and answers]
The tone should be: [professional/friendly/casual/expert]
Sub-step 4.3: Payment Integration (For Subscription Apps)
If you're charging for your app:
Integrate Stripe for payments:
Add a "Upgrade to Pro" button
Price: $[amount]/month
Collect payment via Stripe Checkout
After successful payment:
Unlock premium features
Save subscription status in database
Send confirmation email
Use test mode initially.
You'll need:
Stripe account (free to set up)
Stripe API keys (test keys to start)
Define what features are free vs. paid
Sub-step 4.4: User Authentication (If Needed)
For apps where users need accounts:
Add user authentication:
Sign up with email and password
Login page
Forgot password functionality
User dashboard showing their data
Logout button
Make it secure with proper password hashing.
Sub-step 4.5: Admin Panel (For Managing Your App)
This is critical for tracking and management:
Create an admin panel accessible at /admin with password protection:
Include:
Total user count
New signups today/this week/this month
List of all users with email addresses
Ability to export data
User activity logs
[Any other metrics you want to track]
Password protect it with: [your admin password]
Step 5. Deployment & Going Live
Now it's time to take your app from development and put it live on the internet where real people can use it.
Sub-step 5.1: Final Pre-Launch Checklist
Before deploying, verify these items:
✅ All features work as expected
✅ Forms submit correctly
✅ Email collection is working
✅ Mobile responsive on all screen sizes
✅ Images and logo display properly
✅ Loading speeds are acceptable
✅ No console errors (check browser developer tools)
✅ Privacy policy and terms (if collecting data)
✅ Contact information is visible
✅ Call-to-action is clear
Sub-step 5.2: Deploy in Lovable
Click the "Deploy" button in top right of Lovable
Select "Deploy to Production"
Lovable auto-configures everything
You get a live URL: yourapp.lovable.app
Your app is now live and accessible to anyone on the internet!
Sub-step 5.3: Custom Domain Setup
To use your own domain (e.g., yourapp.com), you can either use:
Option A: Using Entry (Automatic - Easiest)
Lovable uses Entry for seamless domain connection:
Click "Add Custom Domain" in Lovable
Enter your domain name
Click "Connect with Entry"
Log into your domain registrar (GoDaddy, Namecheap, etc.)
Entry automatically configures DNS settings
Wait 10-30 minutes for propagation
Done! No manual DNS work needed
Option B: Manual DNS Setup (If Entry Doesn't Support Your Registrar)
If you need to do it manually:
Lovable provides DNS records
Log into your domain registrar
Find DNS settings
Add the A record and CNAME records provided
Save changes
Wait up to 48 hours for propagation
My note: DNS settings always made me nervous. Entry eliminates that fear completely—you just log in and it handles everything automatically.
Sub-step 5.4: SSL Certificate
Good news—this is automatic:
Automatically included with Lovable deployment
Your site will have HTTPS (secure)
No additional setup needed
Sub-step 5.5: Post-Launch Monitoring
In the first 24 hours after launch, stay alert:
Test the live URL on multiple devices
Check email notifications are working
Verify analytics/tracking (if set up)
Monitor for any user-reported issues
Have ChatGPT/Claude ready for quick fixes
Step 6: Marketing Your New App And Getting Users To Pay For It
Building the app is just the start. Now you need people to actually use it, or all that work was for nothing.
Invite-Only System (Like Revven):
Add an invite-only signup system:
New users need an invite code to access
After signing up, give users 5 invite codes
They can share codes with friends
Track who invited whom
Add "Request More Invites" button when they run out
Create a page showing:
Their unique invite codes
How many people they've invited
A "Copy Code" button for easy sharing
Keep in mind that you will need to have an established brand or a solid network to have enough people talking about it so it goes viral.
This is great if you already have a community.
Sub-step 6.2: Integrate Affiliate Program
Add affiliate tracking:
Users can add their affiliate link
Track signups from their referrals
Dashboard showing their referral count
Automatic commission calculation
[Connect to your payment system if paying commissions]
People already share things they love. Adding money makes them share proactively and persistently. After two referrals, users are essentially using your product free—this removes all price objections.
You gain leverage at scale. Instead of doing all the marketing alone, you have dozens or hundreds promoting across networks you could never reach. People also refer others like themselves, so quality is high.
Launch Strategy—Your launch should happen in phases, not all at once
Phase one is a soft launch to your existing audience. Email your existing list first. Post on your social media accounts. Share in relevant communities where you're already active. And ask for feedback from these early users.
Phase two is an invite-only period if you're using that strategy. Create a waitlist to build anticipation. Tease the features without giving full access yet. Build excitement through scarcity.
Phase three is the public launch to everyone. Make a big announcement. Tell everyone you know. Run paid ads if your budget allows. And look for partnerships or collaborations with others in your industry.
So... What's Next?
You made it to the end.
That means something.
Most people would have skimmed this or saved it "for later" (which really means never).
But you read the whole thing.
You're serious about this.
Now comes the important part.
I have two questions for you:
Question 1: Was this helpful? Did this guide give you what you needed? Did it answer your questions? Did it make building an app feel possible instead of impossible?
Hit reply and let me know.
If something wasn't clear, tell me. I'll explain it better.
If something was especially helpful, tell me that too. I want to know what clicked for you.
Question 2: What's the first app you're going to build? Seriously. Right now. What app idea is brewing in your head?
A calculator for your clients? A tracking tool for your coaching program? A quiz to generate leads? Something completely different? Reply and tell me your app idea.
I'm genuinely curious what you're going to create.
Talk soon,
Brian
Reply